Can I Install Solar Panels Myself? A Practical DIY Guide
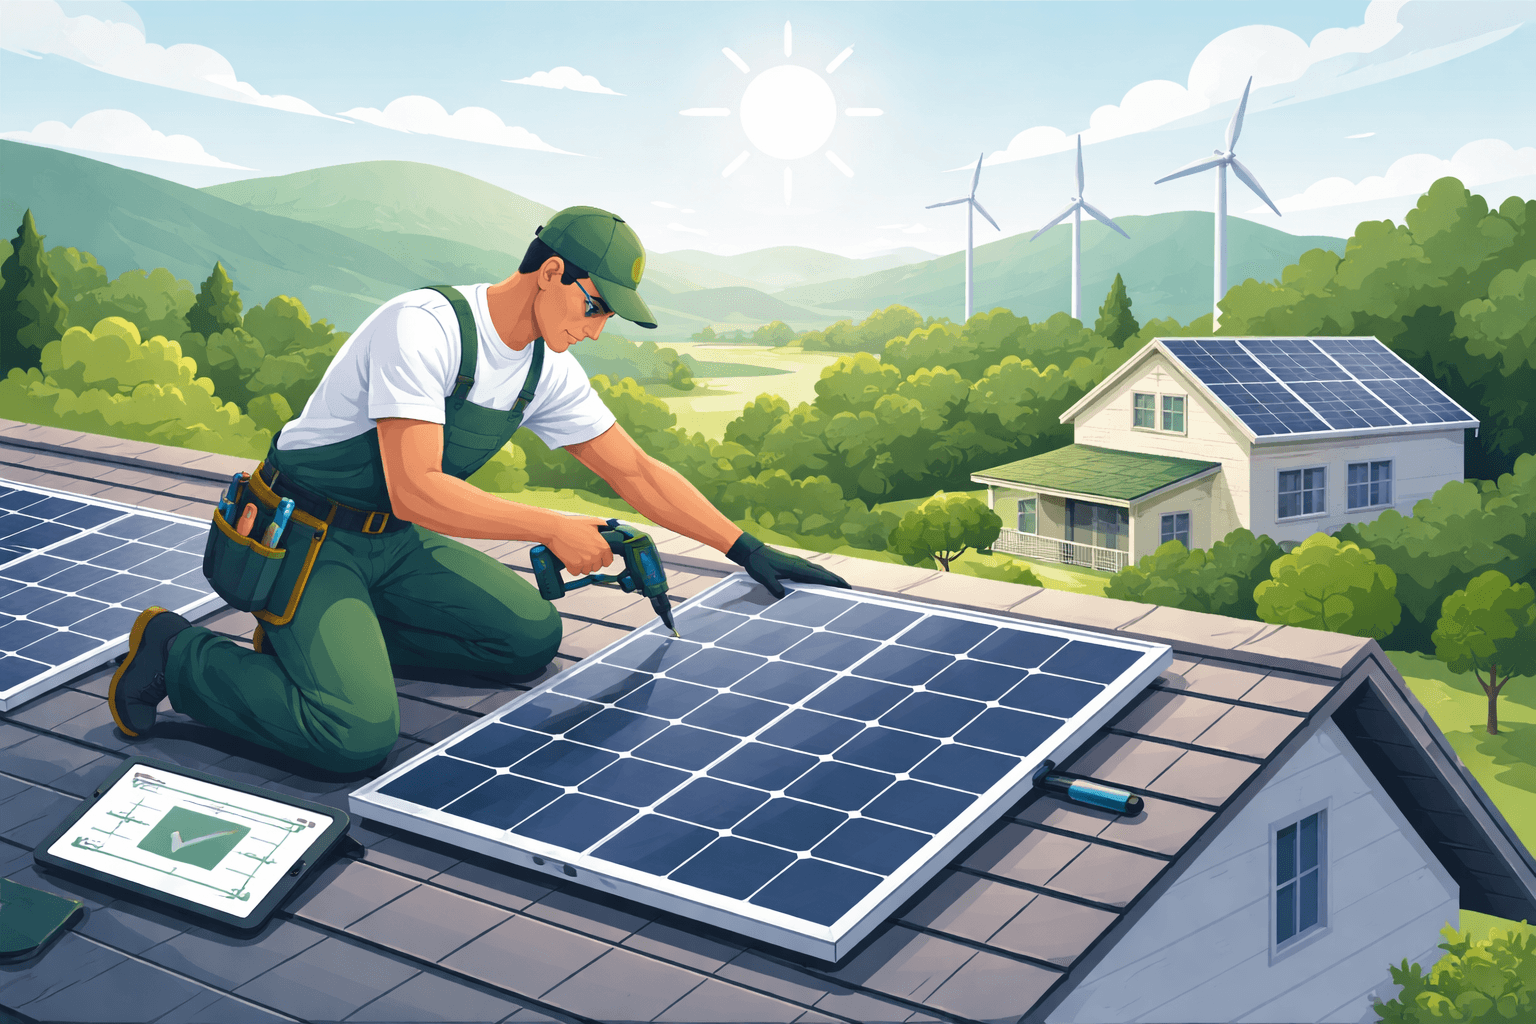
If you’ve ever typed “can I install solar panels myself” into a search bar, you’re in good company. Residential solar is booming—U.S. homes added a record ~6 GWdc in 2023, up 12% year-over-year, according to SEIA/Wood Mackenzie—driven by high electricity prices and a 30% federal tax credit. Professional installations still dominate, but a growing slice of homeowners are exploring DIY to cut costs that average $2.75–$3.75 per watt installed by pros.
For a motivated, handy homeowner, DIY solar can work—if you respect permits and electrical code, plan meticulously, and know when to call a licensed electrician. This guide walks through the decision, the steps, and the numbers.
If you’re brand-new to solar basics—how panels make electricity, components, and common terms—start with our primer: Solar Panels for Beginners: A Practical, Data-Driven Guide.
Can I install solar panels myself? Quick answer
Short answer: Yes, in many jurisdictions, a homeowner can legally install a grid-tied rooftop system, but it’s realistic only if you are comfortable with roofing work, can follow electrical code, and your utility/AHJ (Authority Having Jurisdiction) allows homeowner installs. Expect 40–80 hours of hands-on work plus weeks of permits and utility approvals.

Photovoltaics: Design and Installation Manual: Solar Energy International
It also includes chapters on sizing photovoltaic systems, analyzing sites and installing PV systems, as well as detailed appendices on PV system maintenance, troubleshooting and solar insolation data
Check Price on AmazonDIY is best suited for:
- Single-story homes with composite/asphalt shingle roofs in good condition
- Modest systems (3–8 kW) without a main service upgrade
- Homeowners with construction/electrical aptitude and time for permitting and inspections
DIY is not a good fit when:
- Your roof is tile, slate, metal tile, or heavily shaded
- You need a service panel upgrade, line-side tap, or complex battery integration
- Your insurer or utility requires a licensed installer’s sign-off
DIY vs hiring a professional: pros, cons, warranties, insurance
Pros of DIY:
- Cost savings: Equipment for a typical 7 kW system can be procured for roughly $1.00–$1.80/W, versus $2.75–$3.75/W turnkey. That’s $6,000–$10,000 potential savings after the 30% federal credit, depending on scope.
- Scheduling control: Work at your own pace around weather and inspections.
- System literacy: You’ll understand every bolt and breaker for future maintenance.
Cons of DIY:
- Time and risk: Rooftop work and DC electricity are hazardous. OSHA reports falls remain the leading cause of construction fatalities; use fall protection at all times.
- Warranties: Many inverter and racking manufacturers offer full warranties only if installed by a licensed or certified pro (check product warranty terms). Some panel warranties are fine with homeowner installs if code-compliant; others are not.
- Insurance and resale: Some home insurers and lenders require permitted, professionally inspected systems. Unpermitted work can complicate home sales and claims.
What pros add beyond labor:
- Stamp-ready design sets that meet local code and fire setbacks
- Correct equipment matching (string sizing, module-level rapid shutdown per NEC 690.12)
- Faster approvals and PTO (permission to operate) through established utility relationships
- Workmanship warranties (often 10+ years) and roof leak warranties
Related reading: Solar Panels Pros and Cons: A Data-Driven Guide
Permits, inspections, grid-connection and incentives — what to check first
Before you buy hardware, confirm:
- Permitting path with your AHJ
- Most cities/counties require building and electrical permits; some accept over-the-counter permits for standard flush-mount arrays.
- Fire code setbacks: Many jurisdictions following the International Fire Code (IFC) require roof access pathways (often 36 inches along ridges/valleys) and limits on array coverage.
- Structural letters: High snow/wind zones or older roofs may require a structural engineer’s letter.
- Utility interconnection rules
- Net metering or net billing: Compensation for exports varies by state/utility.
- Main panel limits: The “120% rule” in the National Electrical Code (NEC 705) often caps the inverter backfeed breaker size based on the busbar rating. Example: A 200 A bus with a 200 A main typically allows up to a 40 A PV breaker (200 A × 120% − 200 A = 40 A). Workarounds include downsizing the main breaker, a supply-side tap, or a generation subpanel—tasks usually requiring a licensed electrician.
- Metering and PTO: Many utilities require signed affidavits, labels, and an inspection before issuing permission to operate.
- Incentives and the federal tax credit
- Federal Residential Clean Energy Credit (26 U.S. Code § 25D): 30% credit on eligible equipment and contractor labor. If you install yourself, your personal labor is not eligible, but equipment, permitting fees, and professional services (e.g., engineering) generally are. Keep itemized receipts.
- State/utility incentives: Rebates, performance payments (SRECs), or property tax exemptions may require licensed installation and proof of inspection.
Site assessment: roof type, orientation, shading, structural checks and load limits
- Roof age and condition: If your roof will need replacement in the next 5–10 years, replace it before installing solar. Removing and reinstalling adds cost and risk.
- Orientation and tilt: In the U.S., south-facing is ideal. East/west orientations typically reduce annual output by ~10–20% versus south at similar tilt. Tilt near your latitude maximizes annual energy, but flush-mounts at typical roof pitch (15–35°) are fine.
- Shading: Even partial shading on a few modules can cut array output significantly. Microinverters or DC optimizers mitigate shading losses by controlling modules individually. Use a shade tool (or NREL’s PVWatts plus satellite/street-view checks) to estimate annual production.
- Structural capacity:
- Weight: Modern modules weigh ~40–50 lb each. Racking plus modules typically add ~2–4 lb/ft² dead load (NREL guidance). Snow and wind add live loads that your roof framing must handle.
- Framing: Standard rafter spacing is 16–24 inches on center. Confirm rafter/truss type, condition, and spacing; photograph for permit submittals. In heavy snow/wind zones, get an engineer’s review.
- Roof material: Asphalt shingles are the simplest for DIY. Metal standing seam can be straightforward with clamp-on attachments. Tile or slate requires specialized mounting and is best left to pros.
If you’re scoping system size, see: How Many Solar Panels Do I Need? A Practical Guide & Estimate
Tools, equipment and components you’ll need
Core components
- Solar modules: 350–450 W residential modules are common; higher wattage doesn’t guarantee higher efficiency—check datasheets (efficiency, temperature coefficient, dimensions).
- Inverter system:
- Microinverters: One per module; easy design, module-level monitoring; typically higher upfront cost.
- String inverter + DC optimizers: Module-level control and NEC rapid shutdown compliance; centralized inverter replacement later.
- String inverter only (no MLPE): Allowed only where module-level rapid shutdown isn’t mandated—rare for new installs.
- Racking and attachments: Roof flashings, lag bolts, standoffs, rails, mid/end clamps; follow manufacturer’s layout, attachment spacing, and torque specs.
- Balance of system (BOS): PV wire (USE-2 or PV Wire), MC4-compatible connectors, junction boxes, grounding/bonding lugs, EMT conduit, fittings, AC/DC disconnects, breakers, labeling per NEC Article 690.
- Monitoring: Integrated with inverter; confirm reliable Wi‑Fi access.
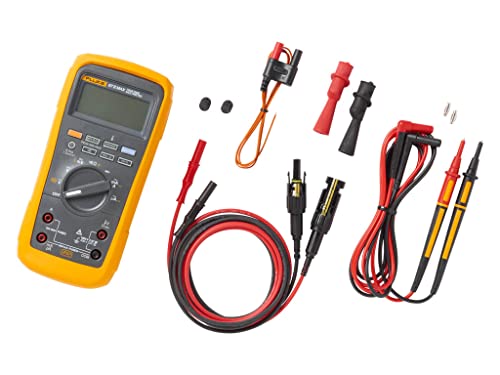
Fluke 87V Max True-RMS Digital Multimeter with Solar Test Lead Kit, CAT III 1000v Rated Multimeter, Waterproof and Dustproof IP67 Case, and MC4 Test Leads and Holster: Amazon.com
View on AmazonTools and PPE
- Fall protection: OSHA-rated harness, lifeline, roof anchors, lanyard; roof brackets/planks for footing.
- Electrical PPE: Insulated gloves (ASTM D120, Class 0 or higher), CAT III/IV multimeter, safety glasses, arc-rated clothing where appropriate.
- Hand and power tools: Drill/driver, impact driver, torque wrench (inch‑pounds range for clamps/lag bolts), socket set, caulk gun, pry bar, chalk line, tape measure, stud/rafter finder, conduit bender, fish tape.
- Sealants and flashings: Manufacturer-approved flashing kits and compatible roofing sealant.
- Ladder and roof access: Ladder stabilizer, tie‑offs; consider scaffolding for two‑story work.
Optional/advanced
- Battery system: Requires compatible hybrid inverter, battery management, rapid shutdown integration, and additional permits. Many brands require certified installation for warranty and commissioning.
Step-by-step installation overview (scope, not electrical minutiae)
- Planning and design (1–2 weeks)
- Gather 12 months of utility bills, roof dimensions, rafter layout, and shading notes.
- Size the system to meet your annual load (often 60–100% of usage). Check voltage drop limits and matching of module strings to inverter MPPT ranges if using string inverters.
- Produce a simple one‑line diagram and layout plan; many AHJs require stamped drawings—hire an engineer if needed.
- Permits and utility application (2–6+ weeks)
- Submit building/electrical permit applications with datasheets, layout, attachment schedule, wiring diagram, labels, and structural letter if required.
- File interconnection with your utility (net metering/billing application); pay any fees.
- Site prep and safety setup (0.5–1 day)
- Stage materials; verify all components on site and undamaged.
- Install roof anchors and set up fall protection and ladder tie‑offs.
- Mark rafter locations, array boundaries, and fire setbacks with chalk.
- Attachments and rails (0.5–1.5 days)
- Snap horizontal/vertical lines for attachments per racking specs.
- Locate rafters and pre‑drill for lag bolts; use approved flashing at every penetration.
- Install standoffs/feet and rails; square and level rails; bond and ground per manufacturer.
- Module installation (0.5–1 day)
- Lay modules starting at a corner; clamp to rails at specified torque.
- Wire module-to-module (microinverter trunk cable or DC home runs); manage wire with clips; maintain drip loops and bend radius.
- Electrical wiring and equipment (0.5–1 day)
- Route PV circuits in metallic conduit where exposed; size conductors for ampacity and voltage drop per NEC 690/310.
- Install roof junction box if needed; run to an AC disconnect and/or combiner; label per code.
- Land conductors on dedicated PV breaker (respecting the 120% rule) or on a supply-side tap performed by a qualified electrician.
- Inverter commissioning and monitoring setup (0.5 day)
- Power up per manufacturer sequence (usually utility-side first, then inverter, then PV).
- Configure monitoring app; check module/inverter serials reporting; verify voltage, frequency, and export limits per utility settings (UL 1741 SA/IEEE 1547 as required).
- Inspections and PTO (1–6+ weeks)
- Schedule AHJ inspection(s). Fix any punch-list items.
- Utility performs meter swap or remote configuration and issues permission to operate.
Note: Always follow the specific instructions and torque values in your racking and inverter manuals and the requirements of the latest NEC adopted by your jurisdiction (often 2020 or 2023 editions). Module-level rapid shutdown (NEC 690.12) is required in most places for rooftop systems.
For ongoing care, see: Solar Panel Maintenance Tips: Maximize Output & Lifespan
Costs, time estimates and ROI: budget ranges, hidden costs, and payback examples
Installed price (pro): SEIA/Wood Mackenzie peg typical U.S. residential turnkey systems at roughly $2.75–$3.75/W before incentives in 2023–2024. A 7 kW system would be about $19,000–$26,000 before the 30% federal credit.
DIY equipment budget (7 kW example):
- Modules: $0.35–$0.60/W → $2,450–$4,200
- Microinverters or optimizers + string inverter: $0.30–$0.45/W → $2,100–$3,150
- Racking/attachments: $0.10–$0.25/W → $700–$1,750
- BOS (wire, conduit, breakers, labels): $400–$1,000
- Permits + interconnection fees: $200–$800
- Engineering stamps (if needed): $200–$600
- Tool purchases/rentals and safety gear: $200–$600
Indicative DIY total: $6,250–$12,100 before tax credit. Eligible costs qualify for the 30% federal credit; your personal labor does not. After credit: ~$4,375–$8,470.
Hidden/variable costs to budget for:
- Main panel upgrade: $1,500–$4,000
- Roof repair/replacement: Highly variable; reroofing before solar often pencils out
- Trenching (for ground mounts) or long conduit runs: $200–$1,500
- Tile/slate roof adapters or specialty labor: Significant; often erodes DIY savings
- Battery (optional): ~$500–$800/kWh for equipment; additional BOS and commissioning requirements
Time expectations:
- Planning/design: 10–20 hours
- Permits & interconnection: 2–8 weeks elapsed time
- Physical install: 2–6 days for two people, depending on complexity
Energy production and savings examples (7 kW, flush-mount, typical losses accounted for):
- Phoenix, AZ (~1,700 kWh/kW-year): ~11,900 kWh/year. At $0.16/kWh, savings ≈ $1,900/year.
- Boston, MA (~1,200 kWh/kW-year): ~8,400 kWh/year. At $0.28/kWh (Northeast rates are often higher), savings ≈ $2,350/year.
- Seattle, WA (~1,000 kWh/kW-year): ~7,000 kWh/year. At $0.12/kWh, savings ≈ $840/year.
Payback snapshots (post‑credit net cost ÷ annual savings):
- Phoenix DIY (~$6,5k net):
3–4 years; Pro ($14–18k net): ~7–10 years - Boston DIY (~$7k–$9k net):
3–4 years; Pro ($15–20k net): ~6–9 years - Seattle DIY (~$5k–$7k net):
6–8 years; Pro ($12–16k net): ~14–19 years
Actual results depend on your site, equipment choices, and local rates. Use NREL’s PVWatts with your exact roof azimuth/tilt to refine estimates. For a deeper cost breakdown, see: Solar Panel Installation Cost: 2026 Pricing, Breakdown & Savings Guide.
Safety, common mistakes and when to stop and call a pro
Safety essentials
- Fall protection is non-negotiable: Harness, anchors, and secure ladder setup; keep three points of contact.
- Treat PV conductors as live when in sunlight: Cover modules during wiring; use DC-rated disconnects.
- Lockout/tagout: De-energize circuits before working; verify with a meter.
- Fire safety: Maintain required roof access pathways; install rapid shutdown; label per NEC 690 and utility requirements.

Guardian 00815 Rooftop Safety Kit - 50 ft Vertical Lifeline Assembly | Reusable Temper Anchor | Full Body Harness | Yellow Storage Bucket - Fall Arrest Restraint Ropes And Lanyards - Amazon.com
View on AmazonCommon DIY mistakes
- Skipping permits: Risks insurance denial, home-sale issues, and utility disconnection.
- Roof leaks: Missing or misinstalled flashing is the #1 call-back. Always flash every penetration and hit solid rafters with correct lag embedment.
- Overloading the main panel: Ignoring the 120% busbar rule or conductor ampacity derating (sunlight, ambient temperature, conduit fill) can create hazards and fail inspection.
- Mismatched equipment: Exceeding inverter input current/voltage, or stringing modules outside the inverter’s MPPT window, leads to clipping, faults, or inverter damage.
- Shading and layout errors: Conduit shadows, vent obstructions, or mixing module orientations on one MPPT can reduce output.
- Connector mistakes: Mixing brands or under-torquing MC4 connectors can cause high-resistance joints and arcing.
- Labeling and grounding: Missing labels, improper equipment grounding/bonding, or skipping an equipment grounding conductor (EGC) are common inspection failures.
Red flags—stop and call a licensed electrician/installer when:
- Your service equipment needs a main panel upgrade, service-entrance conductor work, or a supply-side tap
- Your roof is tile/slate, structurally questionable, or in high wind/snow exposure requiring engineered attachment plans
- You’re installing batteries or a backup subpanel/transfer switch
- The AHJ or utility requires a licensed installer’s sign-off for interconnection
By the numbers: DIY solar in context
- 30%: Federal Residential Clean Energy Credit on eligible costs through at least 2032 (U.S. Treasury/IRS)
- $2.75–$3.75/W: Typical 2023–2024 U.S. turnkey residential price (SEIA/Wood Mackenzie)
- ~$1.00–$1.80/W: Typical DIY equipment cost range for grid-tied rooftop systems, depending on components and volume (market surveys; vendor pricing)
- 2–4 lb/ft²: Typical added dead load for flush-mount systems (NREL/industry guidance)
- 15.9–16.5¢/kWh: Approximate average U.S. residential electricity price in 2023–2024 (EIA)
- 40–80 hours: Typical homeowner install labor time (planning + onsite work), excluding permits and PTO
Practical implications: how to decide
- If you value maximum savings and are confident on roofs and with code-compliant wiring, DIY can pay back quickly—particularly in states with high rates and straightforward permitting.
- If your site is complex (tile roof, service upgrade, batteries), or if warranties/insurance require it, hire a pro; the additional cost may buy you time, safety, and peace of mind.
- Hybrid approaches work: Many DIYers handle racking/module mounting and hire a licensed electrician for final AC interconnection and commissioning.
Additional resources on our site:
Where the market is heading: Expect more AHJs to adopt streamlined online permits, wider utility acceptance of standardized interconnection packages, and more equipment designed for safer, simpler homeowner installation (plug-and-play microinverter arrays, integrated rapid shutdown). Battery incentives and the 30% federal credit are accelerating adoption, but code compliance and safety will only get stricter—favoring well-documented, well‑engineered DIY projects.
Recommended Products
Photovoltaics: Design and Installation Manual: Solar Energy International
It also includes chapters on sizing photovoltaic systems, analyzing sites and installing PV systems, as well as detailed appendices on PV system maintenance, troubleshooting and solar insolation data
Guardian 00815 Rooftop Safety Kit - 50 ft Vertical Lifeline Assembly | Reusable Temper Anchor | Full Body Harness | Yellow Storage Bucket - Fall Arrest Restraint Ropes And Lanyards - Amazon.com
This model of the Guardian Fall Protection “Bucket of Safe-Tie” includes: (1) <strong>a Universal Harness HUV with five points of adjustment for added comfort</strong>, (2) a 50 foot Vertical Lifeline
Fluke 87V Max True-RMS Digital Multimeter with Solar Test Lead Kit, CAT III 1000v Rated Multimeter, Waterproof and Dustproof IP67 Case, and MC4 Test Leads and Holster: Amazon.com
MC4 test lead sets are <strong>designed for use with meters that accept 4mm banana plugs, rated to CAT III 1000 V / CAT IV 600 V</strong>. ... The 87V MAX is the ideal electrical troubleshooting solut